Wednesday, November 3, 2010
A RooFresh Wedding - DIY Ceremony Chair Flowers {Featured on Ruffled Blog}

Here's my DIY that was featured, but I added a few more of my pictures to go along with it (it's a little wordy, so for those of you who are visual learners I added the extra pictures). If you have any questions please feel free to ask!
CEREMONY CHAIR FLOWERS
Kelsey created a charming project to be hung from a chair during the ceremony (and reception afterwards) for her own wedding.

What you’ll need:
- Mason jars (your choice of size, a variety can create a little whimsy)
- Fabric (I used burlap, but a colorful print can be fun as well)
- Lace
- Ribbon
- Wire
- Hot glue or fabric glue
- Pliers
- Mason jars (your choice of size, a variety can create a little whimsy)
- Fabric (I used burlap, but a colorful print can be fun as well)
- Lace
- Ribbon
- Wire
- Hot glue or fabric glue
- Pliers


Instructions:
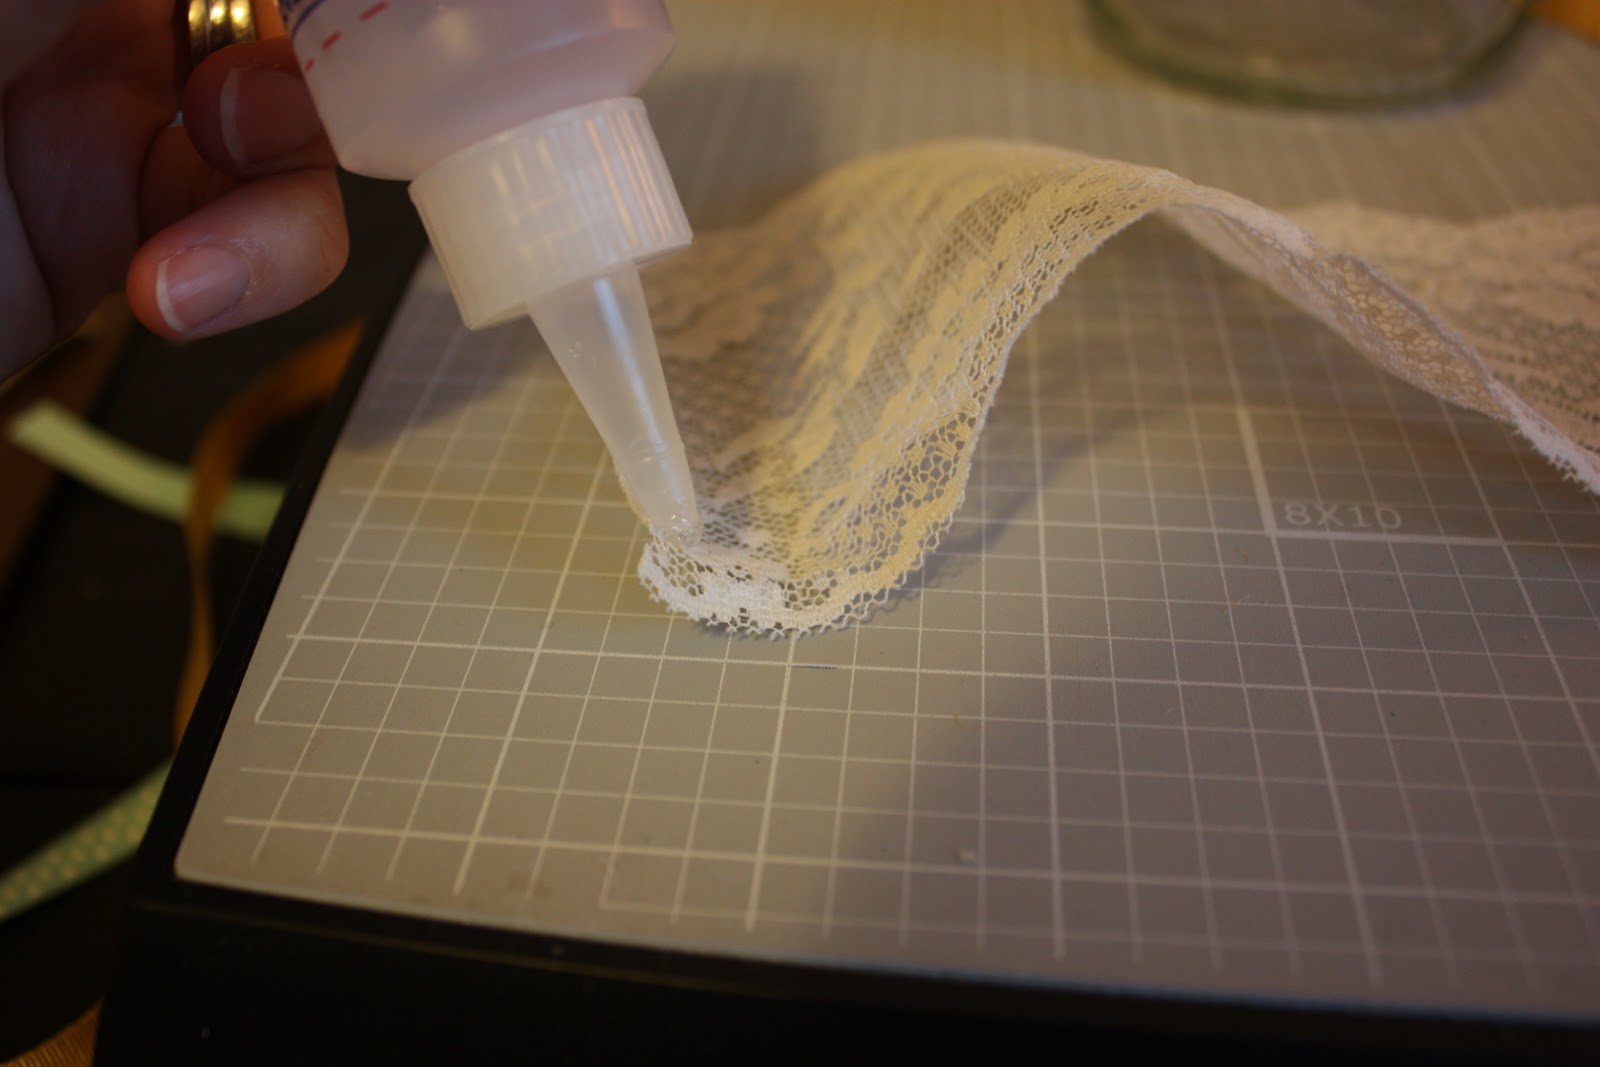
Start with your desired size mason jar, any size will work and multiple sizes can add a fun ambiance to your event. Begin by cutting the fabric of your choice into a strip long enough to go all the way around the mason jar, leaving about a 1/4 of an inch extra to overlap slightly (It doesn’t have to be perfect, a little imperfection shows that it was handmade and special). Glue your base fabric to the outside of the mason jar. You can use either fabric glue or hot glue, I suggest using whichever you are more comfortable with. Only glue the end of each side of the strip, with one end directly onto the jar and the other end slightly overlapping the first end. Cut a strip of lace the length of the first piece of fabric, if lace isn’t your thing you can skip this step. Again, glue the lace only on the ends to give it a clean look and sightly overlap one end over the starting end of the lace. Once the lace is added you can add a piece of ribbon that goes with the theme of your wedding. Pull the ribbon very taunt and place a dab of glue underneath the knot that you tie. After this dries you can tie a bow to finish off the project.
Start with your desired size mason jar, any size will work and multiple sizes can add a fun ambiance to your event. Begin by cutting the fabric of your choice into a strip long enough to go all the way around the mason jar, leaving about a 1/4 of an inch extra to overlap slightly (It doesn’t have to be perfect, a little imperfection shows that it was handmade and special). Glue your base fabric to the outside of the mason jar. You can use either fabric glue or hot glue, I suggest using whichever you are more comfortable with. Only glue the end of each side of the strip, with one end directly onto the jar and the other end slightly overlapping the first end. Cut a strip of lace the length of the first piece of fabric, if lace isn’t your thing you can skip this step. Again, glue the lace only on the ends to give it a clean look and sightly overlap one end over the starting end of the lace. Once the lace is added you can add a piece of ribbon that goes with the theme of your wedding. Pull the ribbon very taunt and place a dab of glue underneath the knot that you tie. After this dries you can tie a bow to finish off the project.



If you want you can leave the mason jar vase as is and use it as a centerpiece with flowers, or fill it with candles to line a walkway.
If you prefer to have the mason jars hang as vases for an aisle way you can proceed with the last step which is adding a wire hanger. Pliers are necessary for this step and the wire can be found at any craft store; choose whatever thickness you prefer. If your look doesn’t work with wire, you can always use string, yarn, twine, or ribbon, just make sure that you fasten it with some glue to keep it secure enough to hang. The wire can be fastened by cutting one long piece and twisting loops into each end-having a round object such as a pencil or pen to keep a firm loop will help. Once the loop has been made on each side cut a second piece of wire to wrap around the top of the mason jar. A quarter of the way through wrapping the wire around the top of the jar, loop the first loop made on the hanging part of the wire through the wire and make a loop in the base wire to hold it in place. Continue wrapping the base wire around the jar until it’s across from the first loop and create a second loop with the hanging wire looped through. When you get to the start of your wire, use the pliers to twist the two ends together and tuck them neatly against the edge of the jar.
If you prefer to have the mason jars hang as vases for an aisle way you can proceed with the last step which is adding a wire hanger. Pliers are necessary for this step and the wire can be found at any craft store; choose whatever thickness you prefer. If your look doesn’t work with wire, you can always use string, yarn, twine, or ribbon, just make sure that you fasten it with some glue to keep it secure enough to hang. The wire can be fastened by cutting one long piece and twisting loops into each end-having a round object such as a pencil or pen to keep a firm loop will help. Once the loop has been made on each side cut a second piece of wire to wrap around the top of the mason jar. A quarter of the way through wrapping the wire around the top of the jar, loop the first loop made on the hanging part of the wire through the wire and make a loop in the base wire to hold it in place. Continue wrapping the base wire around the jar until it’s across from the first loop and create a second loop with the hanging wire looped through. When you get to the start of your wire, use the pliers to twist the two ends together and tuck them neatly against the edge of the jar.

I hope this helped bring out your crafty side, and for all of the soon-to-be brides out there I hope this provided you with a simple decoration to save you some bucks!
Roo
Roo
Labels: Crafty Craft, create, decor, DIY, Ruffled, Wedding, whimsical
2 Comments