Thursday, February 17, 2011
My Non-Do, Hair-Do
Lately I've been a fan of my non-do hair-do. Yes, I made that up. I call it that because I'm not sure if this is how you're supposed to do a chignon, but it's my version and it's QUICK! It's great for days that I can't get a hair wash in (or choose not to) and my hair is a little more...we'll say 'textured'. I start by lightly brushing my hair out or just running my fingers through it if it's not too bad in the morning. If it seems to be a little too silky-smooth still I'll tease my roots a little or sprits some hairspray in it to add that extra texture.
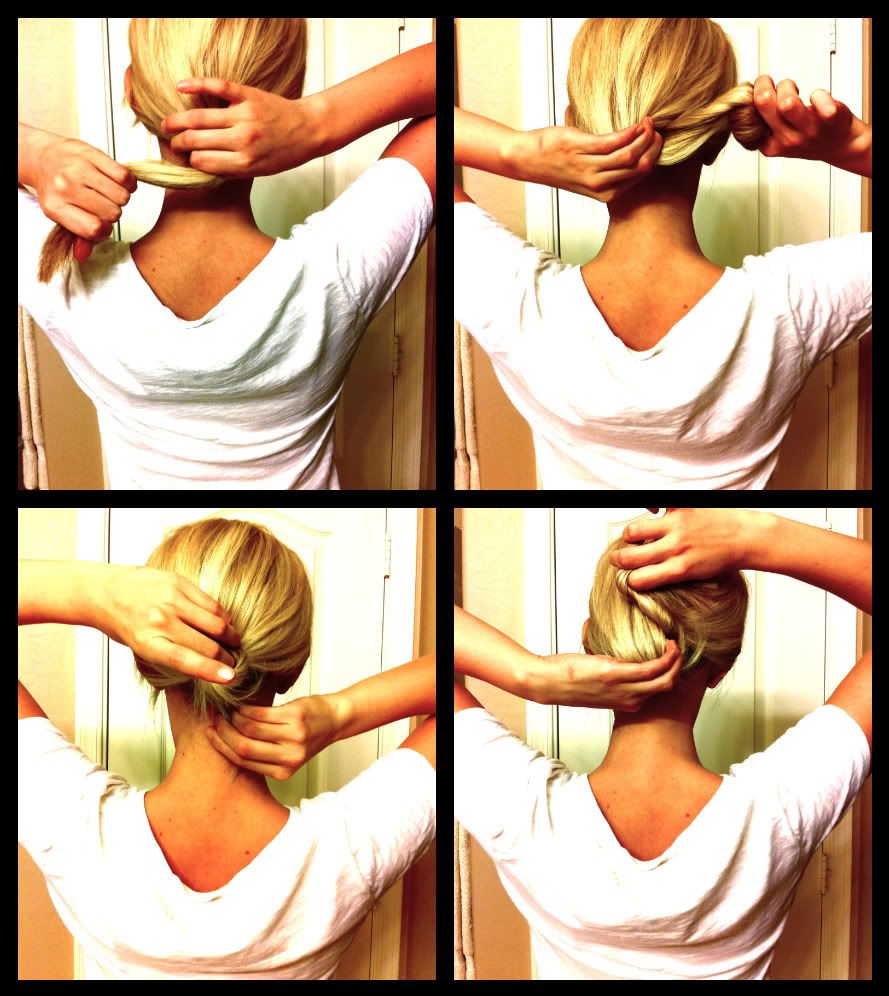
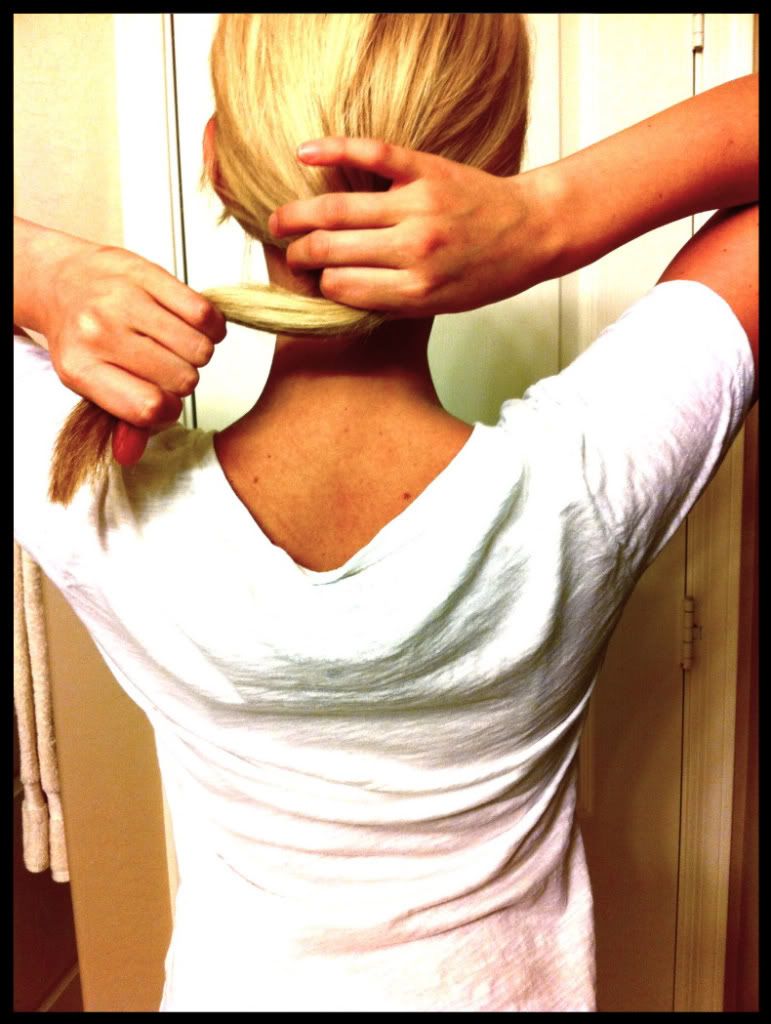
{Step one} Gather all of your hair in one hand
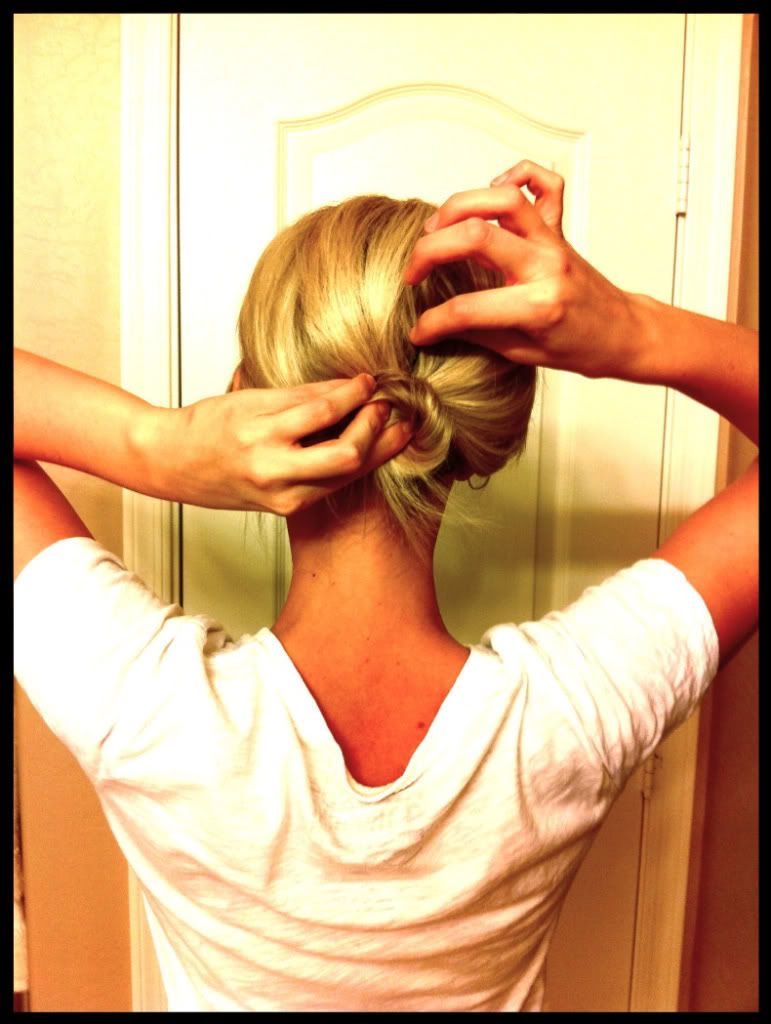
{Step two} Start twisting all of your hair in your hand around 1-2 fingers (index and middle) depending on how thick your hair is...mine is not very thick so I only use one finger. :) Hold your starting point in your other hand as if it were a hair tie (if you have hair that is thick and slippery you may just want to put a hair tie in.
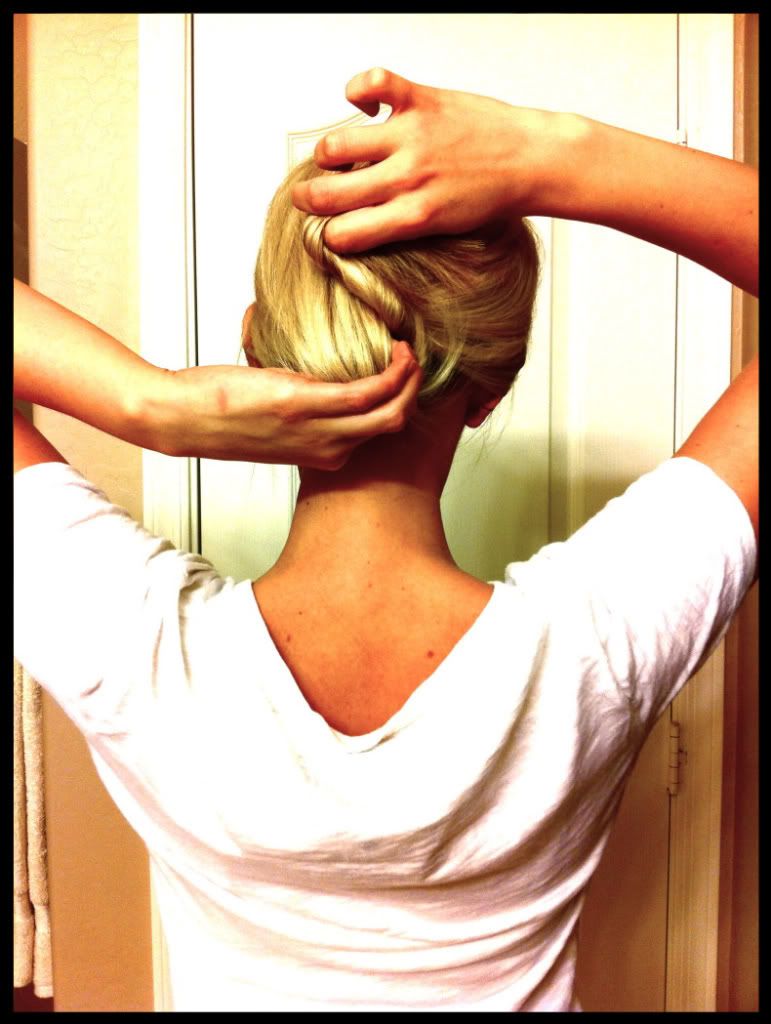
{Step three} Continue to wrap your twisted pony around your starting point until you reach the end of the pony, continually twisting your finger at the same time to keep the ponytail tight.
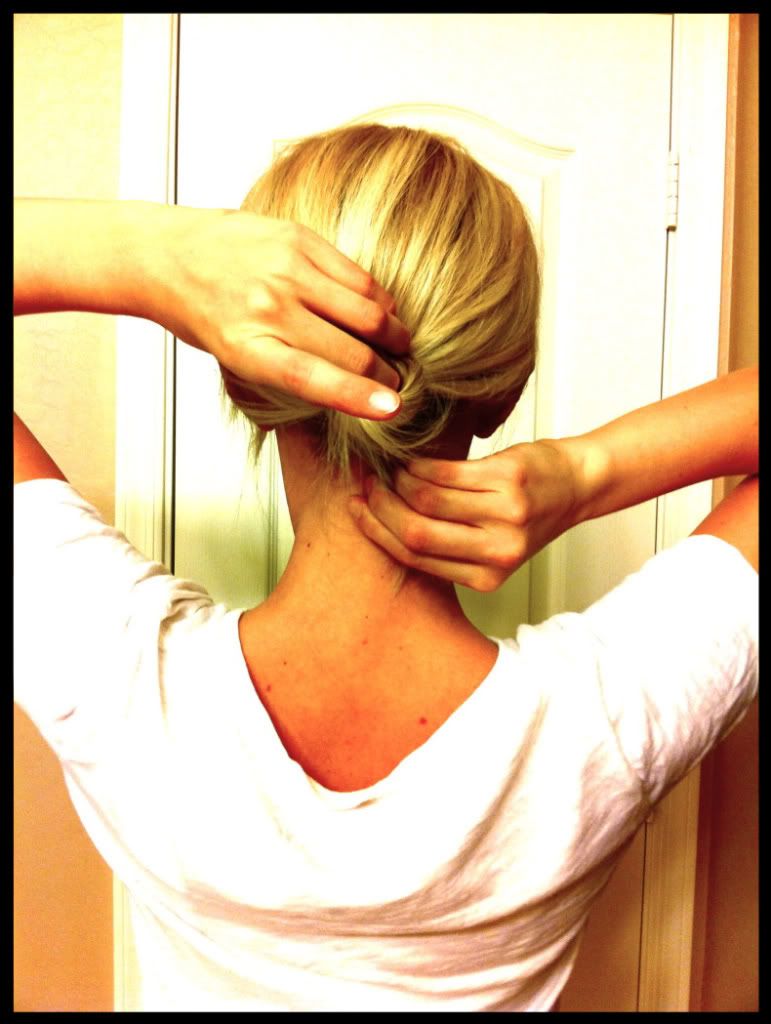
{Step four} Secure the end of your pony with a bobby pin, making sure that it goes as far in towards the center of the bun as possible.
{Step five} Add extra bobby pins to ensure that the bun will stay in place. I usually use about 3-4, if you have thicker hair or many layers, you may have to use more.
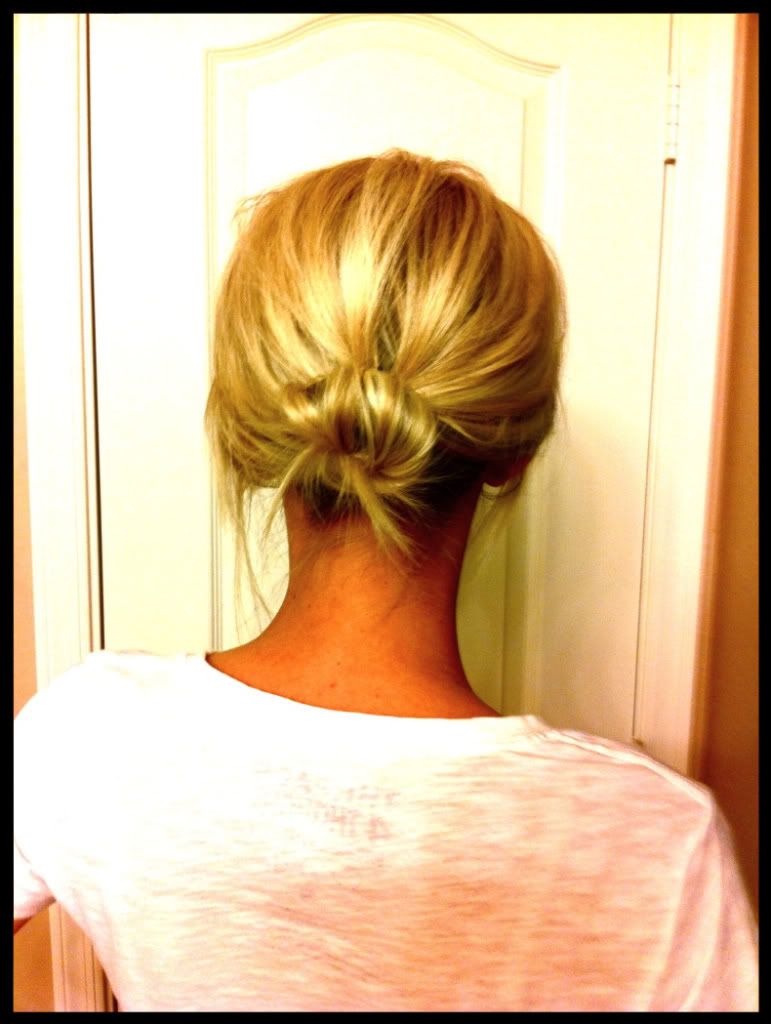
{Step six} Toussle your hair slightly to give it a 'messy, effortless' look and sprits it a few more times with some hairspray or styling product if needed.
Ta Da!
There you have it, your easy 'I'm going shopping and look great doing it' look. I hope that this was more helpful than confusing, if not...well maybe hair tutorials just aren't for me then! If you tell me that you liked it, I might start including more tutorials on the blog. ;)
Labels: Chignon, Fashion, Hair, Hairdo