Tuesday, October 26, 2010
DIY Hair Extensions
I know this is not your typical DIY project, but I think it's something that a lot of women think about and a lot of times either think is out of their budget or may even be looked down upon as "fake". So seeing as how I'm married and my husband knows all of the parts of me that are real, I figured "what the heck, he's the only one that matters anyway!" So here is my DIY for extensions, with all of the tips that I could come up with.
I'll start by saying I thought about getting extensions for a while, because my natural hair is pretty thin, and even though I can grow it out (after a loooong time), it ends up looking kind of scraggly and not as luxurious as I envision it. I have to admit I'm pretty obsessed with the blogging world; I like writing them but also reading as many as I can keep track of, and some of my favorite bloggers make me envious with their luscious locks.
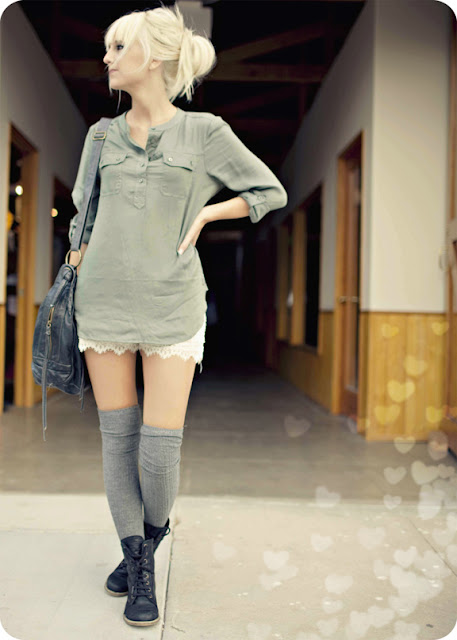
Here's a couple of my favorite blogger hair-crushes...
I have wanted to get extensions for a while now, but permanent ones are expensive ($300 or more!) and they can be really uncomfortable and hard to deal with if you're an everyday kind of hair-washer (or even every other day). This is my perfect solution to my hair problem lack of hair problem!
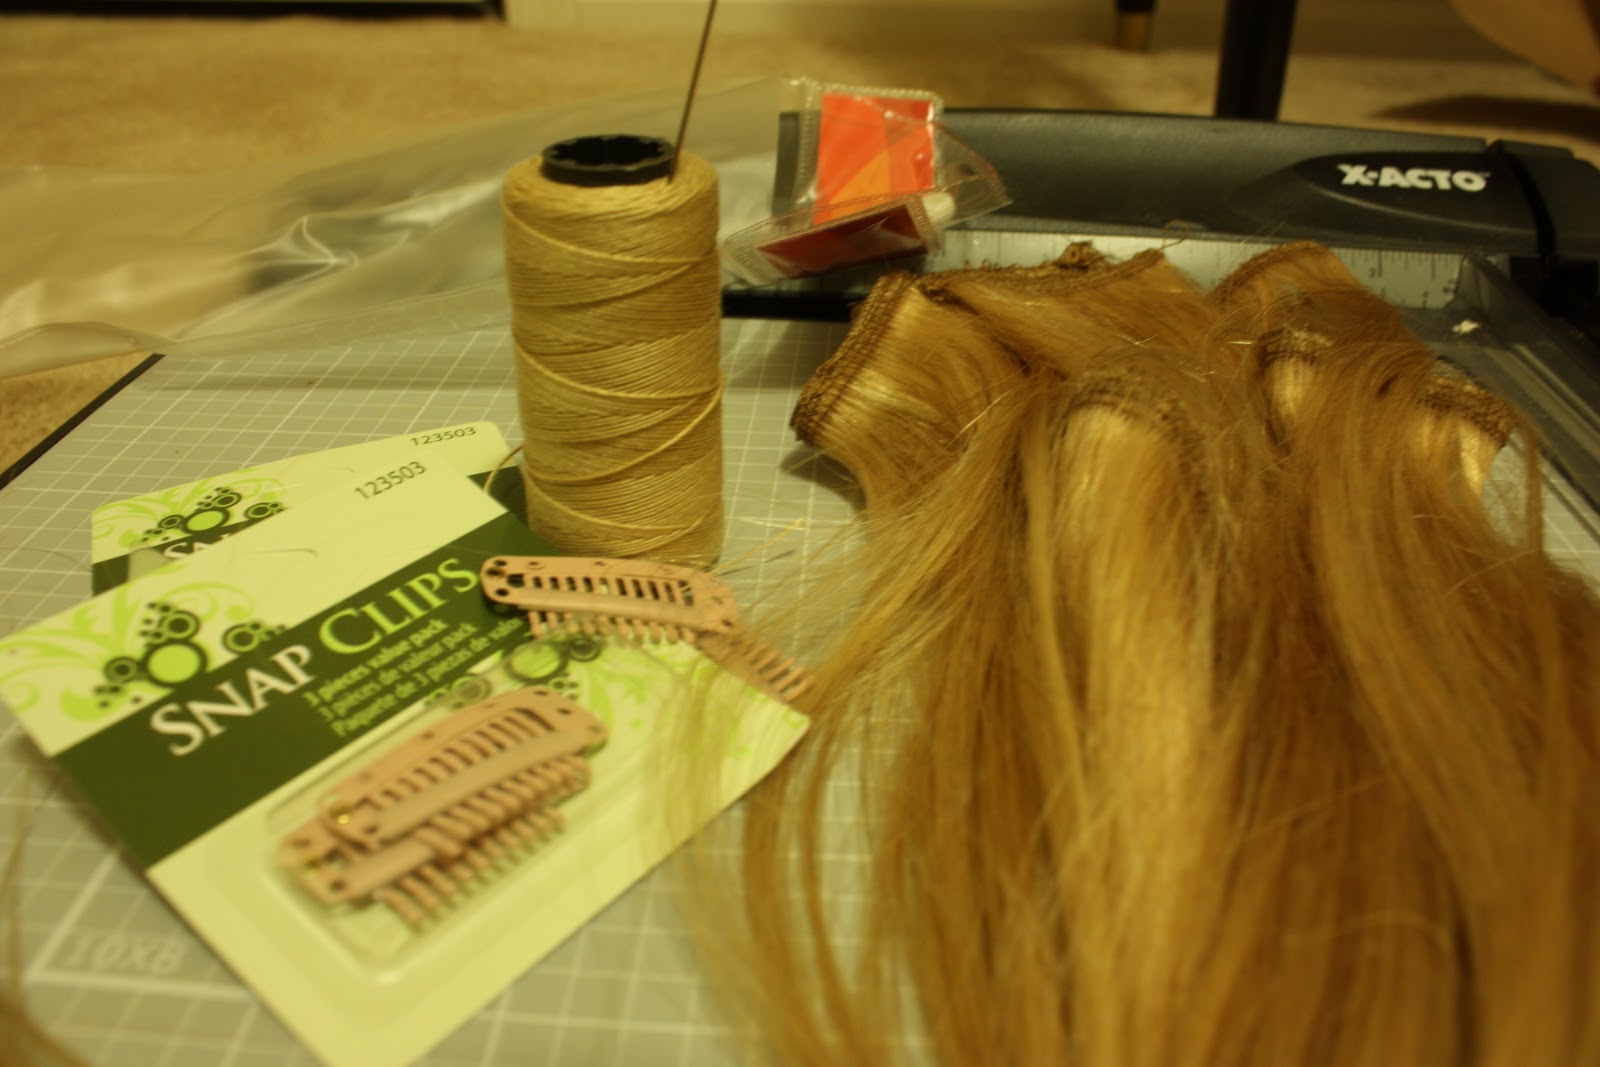
The Materials...
- Synthetic Hair (but in my hair dresser's words, "real" synthetic hair). Make sure that you get the kind that won't melt when you use a heating tool on it
- Thread or string to sew clips onto hair
- Snap Clips
- Small needle (with an eye still big enough to get your string through
- Scissors
*Tip, when choosing a needle, make sure that it is small enough to fit through the holes of your clips.
Process
This is a pretty self explanatory process, but here are some tips to help you succeed.
- Cut the hair into even pieces, 1-2 inches wide depending on your preference and size of clips.
- Gather the hair in one hand as you work to keep the string or thread from getting tangled as you sew.
- Line the clip up with the edge of the strand and face it with the curve against the lining.
- Sew a few stitches, over and under for each hole in the clip.
- Be careful as you sew not to let your string catch the clip like this, if you don't notice in time, it will be a pain to undo.
- When you are done, it should look something like this...
I make about 6-7 of them to wrap around the bottom of my head, under my layers, pretty much placing them anywhere under my ears in a row. Sometimes you have to back-comb to get some texture for the clips to dig into if you're like me and have fine hair.
Remember, don't spend too much on this, it's really not important to get the expensive ones, they range anywhere from $13-100. Mine were in the $50 range, simply because I had a unique hair color which was hard to match and I didn't have as many options. For most people finding a match is not a problem. The rest of the materials can be found at your local beauty shop as well, I went to Sally's.
Here are some of my "before and after" shots. :)
Before
After
Keep in mind, it might take a little bit for you to get into a groove with your sewing, and you might have to mess with them for a little bit once they're in to get the look that you want. You can always curl them and you can wash them and let them air dry as well-just don't get too rough with them.
I personally feel confident with these bad boys in, I think they're a lot of fun, and are a great thing to have for special occasions, a night out on the town, a wedding or even for up coming Halloween! This can be a great way to switch up your hair, without dropping a couple of bills!
Hope you enjoyed this DIY!
Roo
P.S. I just noticed how beige my house/pictures are! I'll work on slipping some color into my pictures next time. :)
Labels: Blog, DIY, Hair extensions, Halloween, Kelli Murray, Liz Franco, Promise Tangeman, Wedding