About Roofresh

My name is Kelsey, not Roofresh, but Roo IS my nickname. I live in the Phoenix area with my husband and we are having fun being newlyweds and going on crazy adventures together. We like finding new hangouts, food, art, music and friends; so that's pretty much what my blog is about. You'll find a bit of fashion, design, nutrition and family sprinkled throughout my content, or anything else that catches my eye at the moment. My blog has changed a lot over the last year, but you'll see that it's really just a record of our lives together; our public journal.

Wednesday, December 14, 2011

Guest Post on the Paper Mama

Take a minute to head on over to The Paper Mama today and check out my DIY Pinwheel Tree Topper guest post!

Labels: , , , ,

Thursday, August 18, 2011

Guest Post on {Hello Vanny}

My friend Vanessa who recently did my blog makeover, asked if I would do a guest post on her blog. I was super excited and couldn't wait to get started on my post (so I literally did it right when she asked me)! I decided to show you all how to make a pinwheel banner, and I think it turned out pretty darn cute if I do say so myself. So head on over and check it out at Hellovanny.com.

Labels: , , ,

Thursday, August 4, 2011

Roofresh {Summer Goods Sale}

When I started my blog, it was actually to promote my Etsy store that I was hoping to open shortly after. If you've been paying attention to my blog at all, you'll realize that I have not announced any kind of store opening in the last 11 months. I think it's safe to say that I will not be opening my shop any time soon despite my good intentions. With that out in the open I will say that I did actually make some merchandise for my store and I would still like to sell it.

I think part of my fear of opening a shop was that I would not be able to keep up with the demand if it got popular. I have always enjoyed customizing things, and one of my favorite crafts growing up was always customizing my journals. Below you will find mostly custom made, hand-bound journals. They take quite a bit of time to make and it is a PROCESS. I love making them regardless of the work, and they are all one-of-a-kind.

If you see a journal that you like you can email me and if it's still available I will set up payment and shipping arrangements with you. I am still open to doing custom orders; If something you like is already sold, I am willing to make you a similar item but nothing identical to what's already been posted (excluding the Switzerland Wreath which is replicable).

{Rosebud Journal} Page Dimensions, 5 1/4 x 8, blank card stock pages
{$25.00}

{Cat Eyes Journal} Page Dimensions, 5 1/4 x 8 1/4, blank card stock pages 
{$25.00}

{Powder Blue & Lace Journal} Page Dimensions, 5 1/4 x 8 1/4, blank card stock pages
{$25.00}

{Rotatory Journal} Page Dimensions, 5 1/4 x 8 1/4, blank card stock pages
{$25.00}

{Mustache Plaid Journal} Page Dimensions, 5 1/2 x 8 1/4, blank card stock pages
This item differs slightly, it is made with the pages tied into the journal through grommets on the spine. The benefit of this is that the pages may be taken out and replaced when done. Keep in mind that the pages will slide around slightly in the cover.
{$25.00}

{Wallpaper Blue Notepad} Page Dimensions, 3 3/4 x 5 1/2, blank card stock pages
Note: Keep in mind if you plan on purchasing this item, that the cover is card stock as well and will be slightly more delicate.
{$5.00}

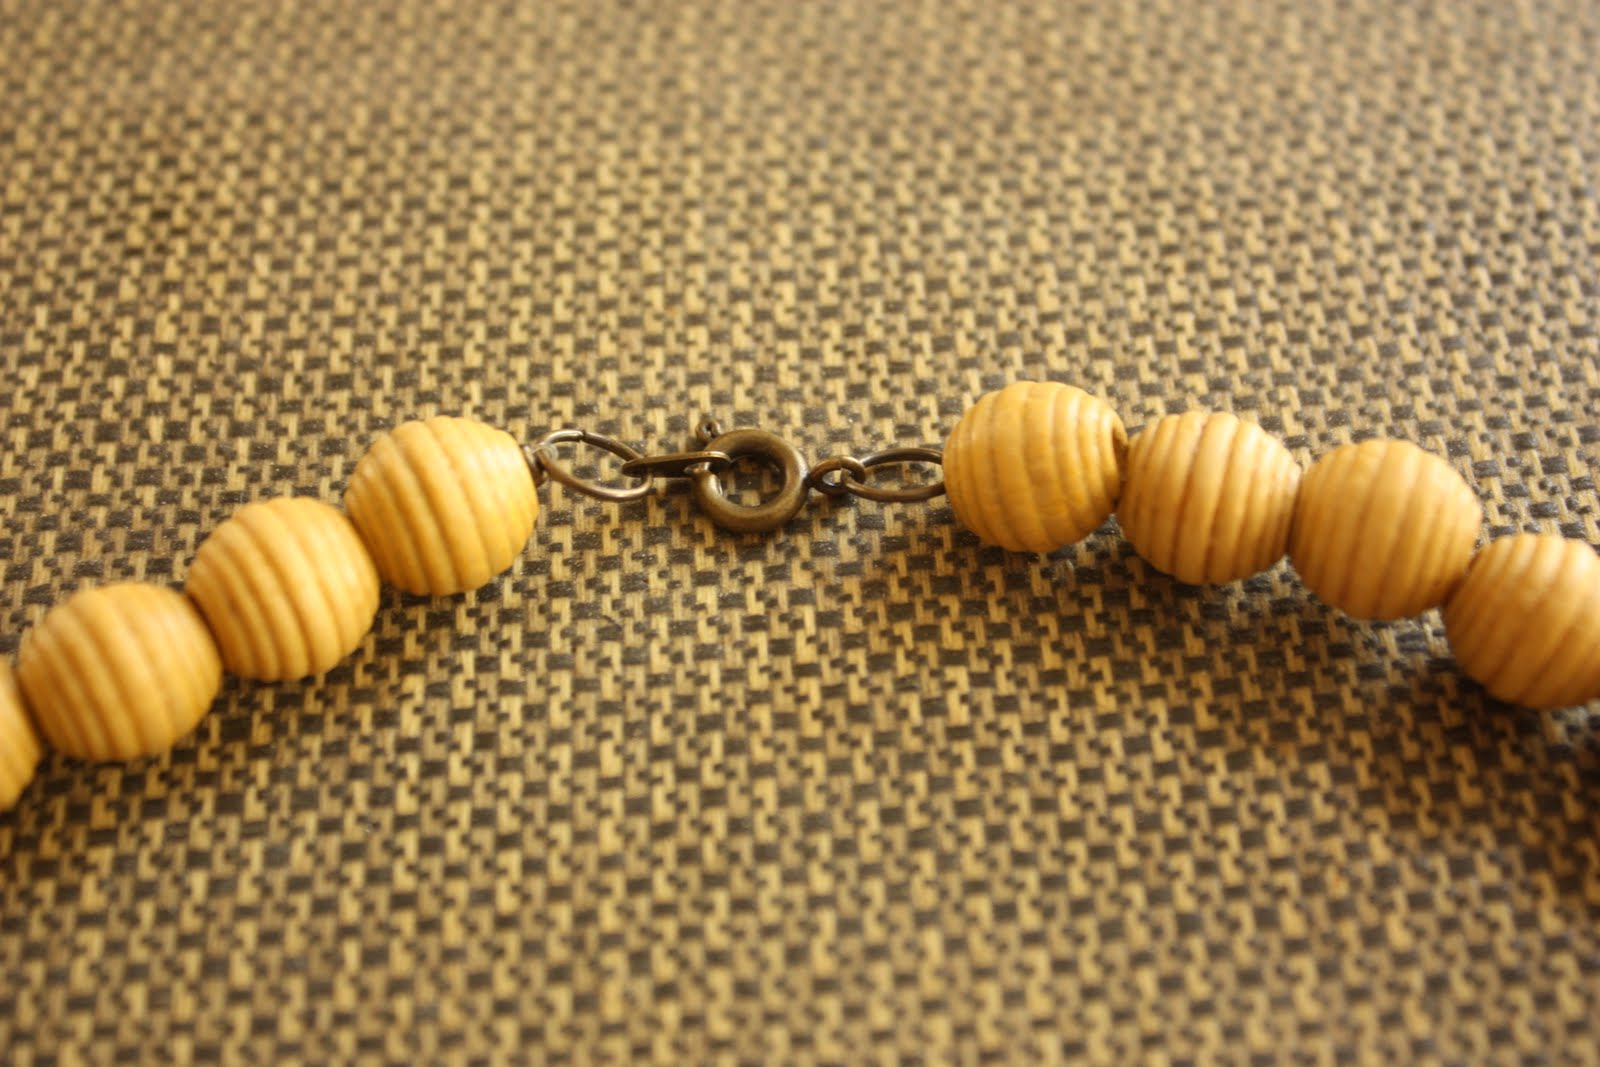
{Wooden Bead Necklace} Handmade, 12" long, approximately 15 1/2" neckline  SOLD
{$15.00}

{Rosebud Tweed Necklace} Handmade, approximately 24" chain  SOLD 
{$12.00}

{Switzerland Wreath} 12" Frame
Pinwheels made from recycled book pages; named after its neutral tone. This is the only item that I will duplicate upon request, also available in a larger size. 
{$40.00}

{Patchwork Pinwheel Wreath} 20" Frame Update, 18" Frame 
Card stock colored paper, custom orders only, this is a non-replicable item - item pictured below not for sale.
{Pricing based on order}

I hope that you found something you like! If so please email me and I would love to send one to your home! If there is an item that you really love but it already has another home now, I would love to work with you on making a new version to fit your style. 

Keep in real,
Roo

Please keep in mind while ordering that all of these items are handmade and that small flaws are common in handmade goods. All sales are final unless the usefulness of the item is compromised due to error in the creative process. No refunds are provided due to shipping damage.

Labels: , , , , , ,

Friday, November 12, 2010

DIY Holiday Bunting

My current DIY is based off of a cute little design brought to you by Cori Kindred and her cute little sign which I found via Little Ocean Annie's blog. 
I immediately fell in love with the bunting (of course) and the concept of using the picture frame for this alternate decor. I had so many empty frames lying around that my mom gave me-which I have had every intention on filling with engagement/wedding pictures-but this project was so much fun! The best part was, other than some string and glue, everything that made this up was recycled!


Here are the step by step instructions kept simple...


Materials:
Old frame
Scrap material
Iron
Paper of your choice
String
Fabric glue/tac
Scissors
Stamps or decorative pen
Additional desired embellishments


Instructions:
 Start by ironing out your material so that is has no wrinkles or creases in it. It will look much nicer if it is smoother.
Cut out a piece of cardboard slightly smaller than the frame that you are going to put it in. It doesn't need to be perfect, and the material around it will add to its size as well.
Using fabric glue, fold the edges of the fabric so that it is wrapped neatly onto the back side of the cardboard.
After you are done, your cardboard will look something like this...
Next, I added the bunting using random paper scraps that I have saved for an occasion such as this. :) I made a sample one first, and then lined it up and cut the other ones accordingly. For fun I made different colored paper different sizes. 
After cutting the bunting I arranged them so that they looked cute to me, and chose an order of colors that looked nice. After doing so I used my stamp kit to stamp a letter onto each one-make sure that your bunting is big enough for the stamp sizes that you are using. 
Finally I used the fabric glue to glue on some string and attach the bunting, then chose my additional embellishments. One of my additions was some matching lace edging made by my lace paper punch.
...And the final product, a be-u-ti-ful handmade decoration for the holidays! 
Best part is, I just pushed my cardboard into the back of the frame, and I can easily remove it and swap it for a different holiday theme later in the year if I want!

Keep it real,

Roo

Labels: , , , , ,

Sunday, September 12, 2010

Sneak Peek

So I know it's been a while of all talk and no store, so since the Etsy store is still in the works I thought I would put up a little sneak peek! :)
Well there you go! I hope you get a little more of an idea of what RooFresh is about and remember to keep checking in for the store opening!
Roo
P.S. You may have noticed the banner at the top looks a little different now. I'm working on my logo at the moment and may be tweaking it as time goes on; for now if you have any comments or thoughts I would love to hear them!

Labels: , , , , , , ,